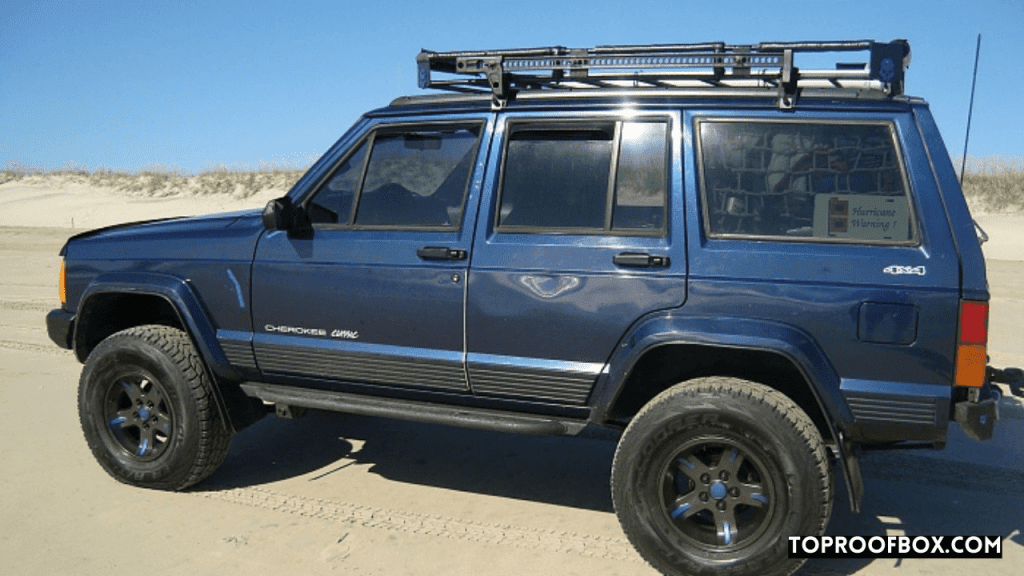
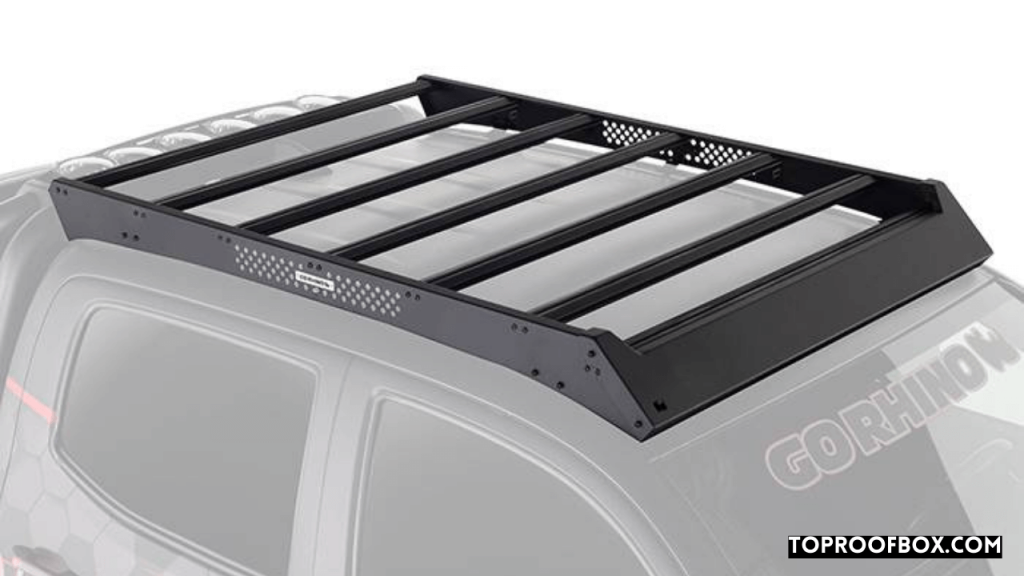
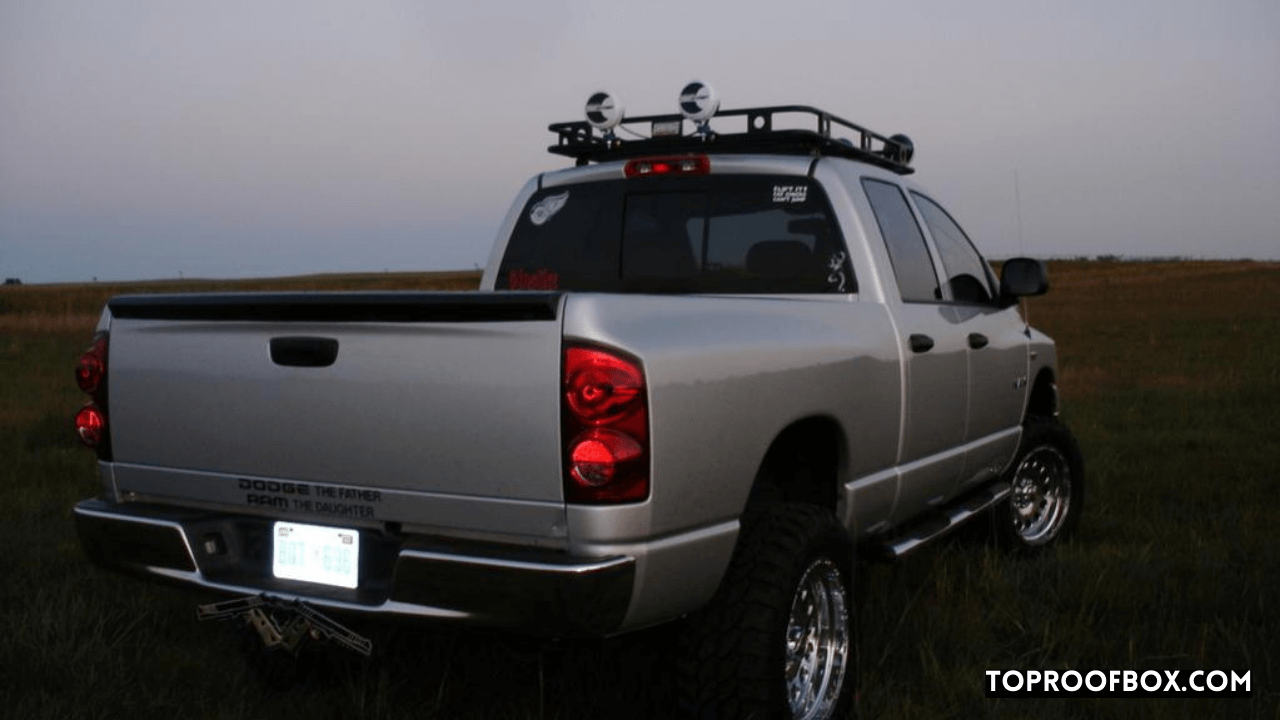
To install a roof rack on your vehicle, follow these steps:
- Gather your roof rack kit and tools.
- Position the rack on the roof according to the manufacturer’s instructions.
- Secure the rack’s feet or mounting brackets to the roof.
- Attach the crossbars or rails to the feet.
- Tighten all fasteners and ensure a secure fit.
- Test the rack’s stability before loading any cargo.
Roof Rack Installation: A Quick Guide
Do you love adventure journeys like kayaking, surfing, snowboarding, etc.? Well, that’s cool! If you like such campaigns, a roof rack is undoubtedly a necessary item for you. Nowadays, a roof rack has become one of the most indispensable parts of an automobile. But, many people have doubts about the roof rack installation process.
However, it’s unnecessary to doubt the installation of a rack! There are so many roof racks available on the market. For this reason, you should understand the basics before selecting the most suitable roof racks according to your requirements.
In this article, we’ll discuss the roof rack installation process in your vehicle – a step-by-step guide. Here we go –
How to Install a Roof Rack – Everything You Need to Know

The cargo roof racks are widely used equipment worldwide in the modern era. Thus, it is a highly versatile and superior cargo-carrying system that can provide an excellent service to any car. People mostly use roof racks to convey equipment like snowboards, kayaks, rafts, etc.
Nevertheless, many people feel uncertain about how to install a roof rack. We’ll show it in our discussion. Before that, you should also learn about selecting a roof rack for your car. Let’s hit it first –
How to Choose a Roof Rack?
You’re about to purchase a roof rack? But, before buying one, ensure that you have a rack that goes smoothly with your car. Now, check out the procedure for how to choose a roof rack –
- Check the Options Suitable With Your Car
Firstly, find out the weight limit of your car. You can get this information in the car manual. However, if there’s no data in the manual, contact the car’s manufacturing company.
After learning the weight limit, you can seek out the best options for the equipment you will convey on the roof for the vehicle’s model and overall building structure.
- Thoroughly Think About the Cargo Roof Rack
The truth is that most cargo roof racks cannot carry more oversized items like kayaks or snowboards. Most racks can fetch lighter appliances. As a result, you’ve to decide which hardware you will take on the racks. After making a proper assumption, make a move for a roof rack.
- Ensure About Temporary or Permanent Fixing
You’ll find racks that can be attached or removed as your sweet will. On the other hand, there are racks available for a permanent fix on your vehicle. You’ve the independence to choose which one will be more suitable for your automobile.
How to Install a Roof Rack

And, here we are. As we’re assuming that you’ve chosen the right roof rack for you. Now, you’re all set to install it in your beloved ride. But, one thing we want to remind you. The thing is, our guidelines aren’t meant for every vehicle. Different vehicles possess different styles.
So, it will be best if you consult with a professional regarding it or maintain the guidelines of the manual provided by the manufacturing company. However, you shouldn’t be worry! The installation procedure differs slightly for each automobile.
Anyway, let’s check out the roof rack installation process in your vehicle –
Step 1 – Know the Roof Top
The first thing before installing a roof rack is to know the rooftop of a car. There are various types of roofs available. Hence, roofs can differ as bare, raised side rail, sun/moon roofs, etc. The difference between them is not significant. But, please check out and follow the respective manual instruction of a car.
The basic types of roofs have four classes. They are – flat tracks, flush side rails, nothing, and hidden mounting points. But, one thing is sure. All of them required three equipment. These appliances are – cross bar, feet, and fit kit.
It doesn’t matter whether you’re going to install a Thule, Whispbar, or Rhino-Rack – all of them need these three elements.
Step 2 – Installing Tower Clips and Crossbars
The first thing you need to do is to install the tower clips under the feet of the rack. After fitting the pins, it’s time to set up the crossbar. You can install the bar by using its bottom fasteners. Further, it depends on the model and type of an automobile.
Therefore, you must use a fit guide to get a proper crossbar for your car. Now, check the guidelines thoroughly to measure the bar’s arrangement. Place the topside on the front and below the side on the back. Mount the equipment correctly. Otherwise, things could get backfiring.
After that, put the rack on the car’s roof and fasten it tightly. Additionally, if you want to remove the roof rack, do the procedure in a reverse way.
Step 3 – Purchasing the Right Roof Rack
The car roofs that have flush rails are generally flat-track roofs. Further, the fit equipment are installed in the flat tracks. Do your car contain attaching mounting points? They will come with wrappers. For this reason, it can remove to connect the roof rack.
Now, what happens if the car has a panoramic roof or sunroof? The first thing is to check out the highest weight that could suit the panoramic roof. Afterward, during the installation procedure, stay alert. The reason is you’ll find glass and that’s why taking precautionary measurements is necessary. However, we recommend taking a professional’s consultation before installing it. The reason is installing a panoramic roof is a bit risky and that’s why consulting with a mature person is crucial.
Step 4 – Make it Calm
After installing the roof rack, you might need to do some work to bring the unnecessary noise control. When the car isn’t moving, it don’t produce sound. But, when it starts moving on, noise might start and can threaten your mental peace!
Nevertheless, what to be done? Well, that’s not a hard job. Closely check whether the rubber strip on the top of the crossbars has been sealed perfectly. If it’s not, clog it quick. Also, position it in the right place. An appliance named “windscreen” can minimize the car’s noise due to the rack.
You can also buy it. It costs very little money and is capable of reducing loud sound notably.
Step 5 – It’s the Time!
Here we go! The time has come! The roof rack is now ready and you can use it by carrying your personal belongings in it. However, you should be careful after the roof rack installation process. Ensure that you’re maintaining the highest load capacity that a roof rack can convey.
On the other hand, if you ignore it continually, a severe accident can happen at any time. In addition, the rack might get destroyed along with your ride.
So, be careful.
Conclusion
So, this is our discussion on the roof rack installation process in your vehicle – a step-by-step guide. We hope you’ve learned adequate how to install a roof rack. Additionally, it’s not challenging, but you need to be smarter to complete the job. Moreover, following the manual’s instructions and consulting a professional is also recommended. Thus, if you want a high-quality and aerodynamic roof rack for your vehicle, it could cost around $500-$700. Thanks for reading and staying with us! Until next time, goodbye!

