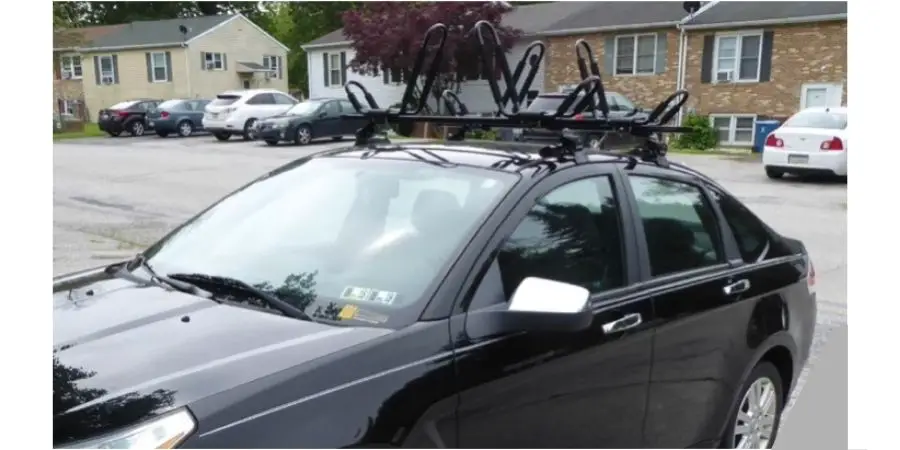
To remove a Yakima Roof Rack, follow these steps:
- Loosen and remove the mounting bolts with the appropriate tools.
- Gently slide the rack components out of the crossbars.
- Clean any residual adhesive or dirt, ensuring a smooth surface.
How to Remove the Yakima Roof Rack?
There’s no debate that a roof rack is essential for carrying various added equipment or sporting gear. It makes the luggage-carrying process convenient. Hence, people have purchased roof racks like hotcakes for the last decade.
Yakima is one of the top-class roof rack manufacturing companies in the world. Thus, people also purchase these racks.
I also bought a Yakima roof rack nearly a few months ago. My rack model is Yakima 8000148cb SkyLine Roof Rack, and I got it for my Toyota car. I had a family tour in Cancun Beach, so I bought it. After coming back, it was sitting idle for two months.
The rack gradually made my car slow, and the fuel efficiency was affected too. So, I’ve decided to take it off. If you’re not using it, removing it from the car would be best. What do you think about removing it? Is it too complicated? Nope.
It is pretty effortless. Now, I will show you how to remove the Yakima roof rack – 7 steps to follow. Here we go –
A Complete Guide to Removing the Yakima Roof Rack
Yakima is undoubtedly one of the world’s most popular and well-known roof rack manufacturing companies. They’re used to producing so many roof racks for different types of vehicles. Thus, the removal process isn’t the same for all the racks.
Nevertheless, I assure you that my guide will help remove most racks, including, Skyline, Timberline, Baseline, etc. Let’s get into the discussion on how to remove a Yakima roof rack. It will be a hell of a ride!
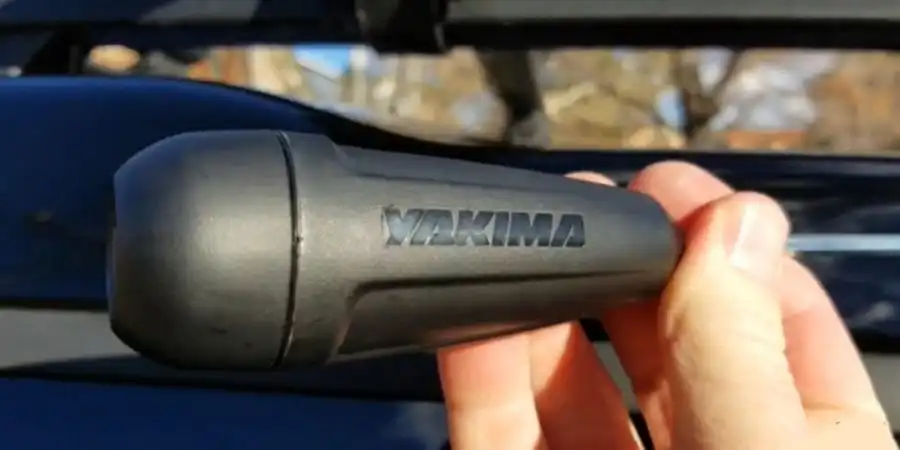
Step 1 – Collect the Important Gears
Before beginning the procedure, you must collect all the necessary gear to remove the Yakima roof rack. However, you need simple tools to do it. There’s no need to use a heavy-duty DIY tool. Let’s check the list –
- Torque tool
- Wrench
- Flathead Screwdriver
- Ladder (Optional)
Step 2 – Remove the End Caps
The end caps are the plastic covers at the roof rack’s endpoint. These caps hold the crossbars in place. To remove them, locate the small tabs on the underside of the end caps. Press the tabs with your fingers and slide the end caps off.
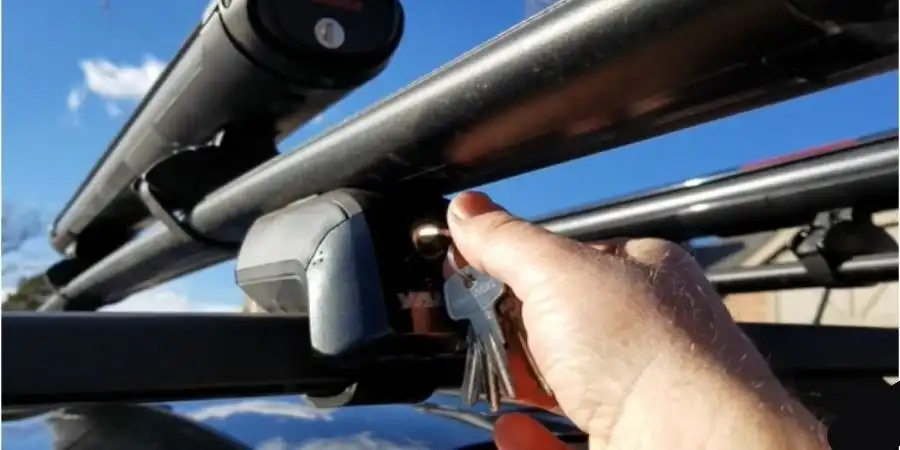
Step 3 – Remove the Seat and Adapter
When you remove the security tab, a tiny element unlocks. It is known as a seat. Remove the seat and adapter simultaneously. Besides, to remove the crossbar from the column, you need to apply some force and push it out as the side of the curved crossbar is not closed.
If you do it on one side, the other side will unlock. Further, you can get assistance to hold the crossbar. This is how you can avoid any potential damage or scratches at it.
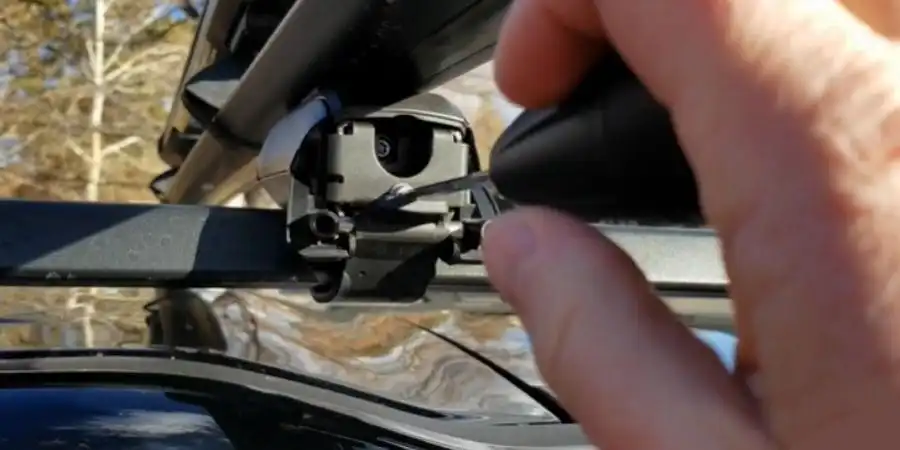
Step 4 – Remove the Crossbars
When you unlock from one side, two crossbars start falling. Using the appropriate tool, loosen the screws on both sides of the rack. Once the screws are loose, lift the crossbars off the towers and set them aside.
Step 5 – Remove the Towers
Once the crossbars are removed, you can take off the towers. The towers are fastened to your vehicle’s roof using brackets that are screwed in place. Additionally, locate the screws that hold the brackets in place and use the Phillips head screwdriver to remove them.
Once the brackets are removed, the towers should come off quickly. If they don’t, check to ensure there aren’t any other screws holding them in place.
Step 6 – Remove the Landing Pads
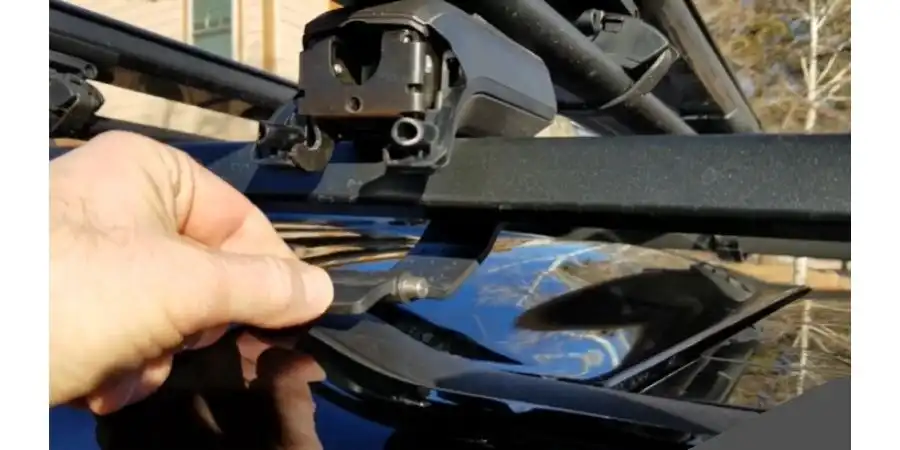
The landing pads are the small pieces between the towers and your vehicle’s roof. To remove them, use a flathead screwdriver to pry them off gently. Moreover, you need to be careful not to scratch your vehicle’s paint.
Step 7 – Clean it up!
Dust and residues can spread in the baseline place. You must clean them. Besides, you can use a mild detergent to complete the task. Use a clean cloth and wet it with the detergent. Then, clean the whole place covered by dirt steadily.
I assure you that the knowledge I shared here is almost the same for a major percentage of Yakima roof racks.
Some Important Tips Regarding Removing the Yakima Roof Rack
Since Yakima is an expensive roof rack, you must conduct some critical tasks. These tasks will significantly help you make the entire procedure convenient as well as increase security measures. Let’s check the tips –
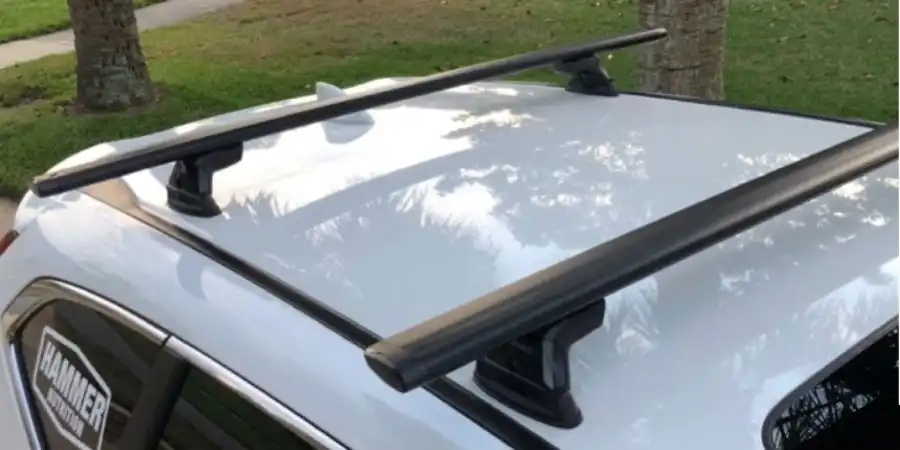
- You should begin the process from the driver’s side. It depends on the car’s height and the rack. If you own an SUV or are short, you might need a ladder to make the process convenient.
- Firstly, remove the front crossbar. Removing the rear crossbar becomes more manageable if you loosen the front one’s bolts and screws.
- Remove all bolts from the drivers’ and passengers’ sides before removing the crossbar.
- Don’t do things faster. Don’t rush the process. Instead, do all the procedures slowly and steadily.
- Sometimes you may need to take help from another person. Keep this advice before starting the task.
- Protect your car’s roof from scratches or damage when removing the rack.
- Once you’ve removed the roof rack, take the time to clean up any debris or mess that may have been created during the removal process. This will help prevent any damage to your car or the roof rack.
You should follow all these processes when you’re about to remove the Yakima roof rack. It will help you secure the rack perfectly and make everything effortless.
The Storing Process of Yakima Roof Rack after Removal from the Car
I can assume you’ve successfully removed the Yakima roof rack from your vehicle. So, what’s next? What will you do with the rack? That’s a big question. You can’t keep the rack in any place you want. Hence, you must make your move wisely.
The best place to place the rack is in a garage. Arrange a free space in your garage and put your rack over there. This is how you can keep the rack safe and secured. Moreover, the chance of corrosion to attach in the rack was also reduced significantly.
My Yakima rack has been placed in the garage for the past 5 months. Still, there’s no corrosion, no scratch, and no damage. The whole product remains intact. I’ve given these tips from my own experience. I can also ensure you’ll benefit if you follow my advice in storing the Yakima rack.
Why You Should Remove the Rack When You’re Not Using It
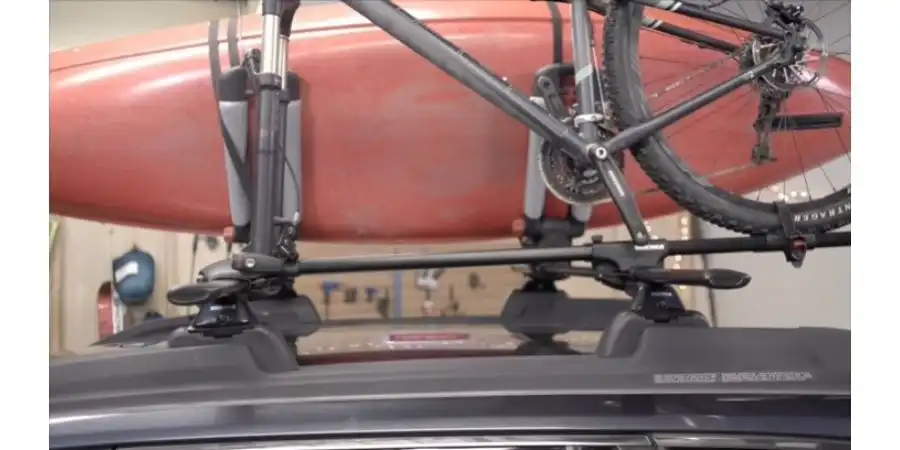
Many people don’t want to do it. They think removing a rack is a burden when you’re not using it. However, don’t be naïve. You should do it. Let’s check out some concrete reasons to remove the rack when you don’t need it –
Higher Fuel Consumption
A bike rack can be a big reason for your car’s higher fuel consumption. Generally, the car has an aerodynamic shape that helps it to move swiftly without causing it to lag. This feature productively assists your car in using a much lesser amount of fuel.
Contrariwise, a bike rack can reduce the aerodynamic feature of the vehicle. For this reason, the car speed gets slowed down. It also makes a massive impact on the car’s engine. Thus, higher fuel consumption occurs.
Difficult Movement
Putting a rack over the car is a bit difficult. You can’t turn or move at your sweet will. As a result, removing it is the best thing.
FAQs
Are Yakima roof racks universal?
If I directly say about it, it’s a big no. Yakima racks are not universal. There’s always a difference between the rack system you want to install on the car’s roof and the system that comes with the car. Besides, Yakima produces an array of rack systems that depends on the car’s roof system.
Are Yakima racks cheaper than Thule?
Yes, it is. Both Thule and Yakima are used to produce high-quality products. However, if we compare the two, Thule’s products are a bit more costly than its counterpart.
Are Yakima roof racks durable like Thule?
Yakima has been producing special racks since its inauguration. The racks are also super durable and made of high-class elements.
Final Notes
How to remove a Yakima car roof rack?– Do you have anything to learn? I guess no. I’ve shown you the most straightforward steps to remove the Yakima roof rack from the car from my practical experience. You won’t be hassle-free if you follow the steps and tips correctly.
Removing Yakima roof racks seems a typical task. However, it isn’t. All you need to go through the process accurately. Follow the 7 steps correctly and remember the tips. You’re good to go!
So, do you have anything to know or any other simple solution regarding removing the Yakima roof rack? You’re welcome to share your opinion in the comment box.
