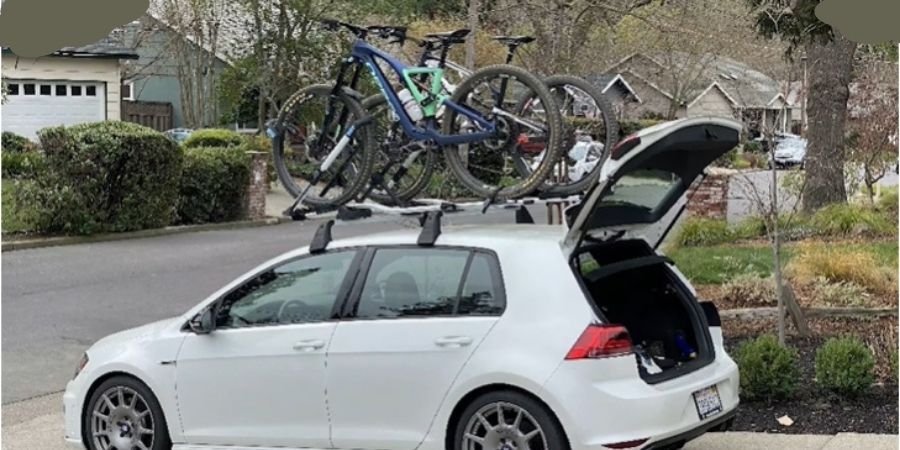
To install a Thule Bike Rack, first, attach the rack to the vehicle’s hitch or roof bars securely. Then, place the bikes onto the rack’s arms, making sure they’re stable and properly secured with straps or clamps. Finally, double-check all connections and adjustments before hitting the road.
How to Install the Thule Bike Rack?
So, you’re planning to go on a road trip to California and roll on the streets there with your beloved bike? But you’re deeply frustrated that your car doesn’t have enough space to store a bike. The trunk is full of various household equipment and wardrobes.
Then, what should you do? Well, no worries! The Thule bike rack is here for you! There are so many bike racks available on the market. However, Thule is the leading manufacturing company producing racks for cars and bikes.
Since the bike industry is booming nowadays, the use of bike racks has increased more than ever. Thule is the standout performer in producing high-quality bike racks. Moreover, the installation process is also pretty much straightforward.
You need to find where you install the bike rack after completing the purchase. Please select the proper place and mount the Thule rack into it. Read further to gain knowledge on how to install the Thule bike rack (2023). Here we go –
What is a Thule Bike Rack?
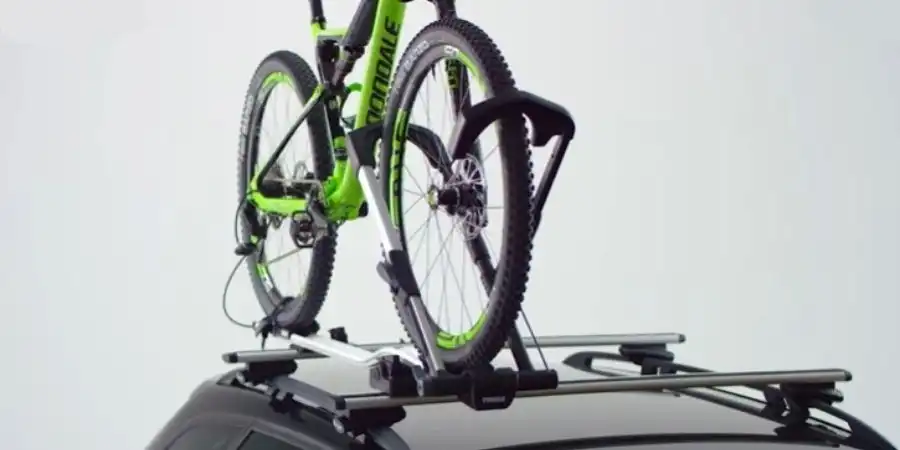
Very few equipment like a bike can please people when it comes to enjoying the outdoors. Nevertheless, selecting the perfect bike is challenging. The installation process is also grueling for most bikes. This is where you can count on the Thule bike rack.
It is undoubtedly the best brand in the bike rack industry. These racks are effortless to install and use. Further, they’re durable and extremely versatile. Thule is always the first choice and highly popular among most cyclists due to its stylish appearance, high-quality elements, and fantastic performance.
A Thule bike rack may be an excellent option if you’re looking for a reliable and convenient way to transport your bikes. You can consult the Thule website to purchase a bike rack from them.
There’s still a question that can arise. Which Thule bike rack is currently the best on the market? From my experience, I should say that Thule T2 Pro XTR is undoubtedly the best one in the current market. It is highly sturdy and reliable. Therefore, you can easily count on it.
Materials You Need to Install a Thule Rack
Before installing a Thule rack, you should consider gathering all the necessary equipment. Here are the gears you’ll need to install a Thule bike rack.
- Measuring Tape– This tape helps meter down the crossbars’ width and length for the perfect bike rack selection process.
- Bolts and Screws –Bolts and screws are necessary to secure the rack.
- Wrench –Tightening the bike rack’s position in the car is essential.
- Ladder – It is only required as per the requirement. If you’re short-sized and you’re an owner of an SUV, you can use it. It’s up to you.
- Screwdriver –A screwdriver is needed to patch bolts and screws.
Select the Right Thule Bike Rack
Before installing the Thule bike rack, you should be careful about some matters.
- Ensure the Thule rack is compatible with the car’s height and dimensions.
- Ensure the rack is robust enough to convey the bike’s weight. Indeed, you don’t want to see your expensive rack collapse in front of you.
- Regularly check the bike and clean it so there won’t be any residues attached to it. If the bike gets full of rust, the rack will eventually be affected. As a result, the rack’s durability can decrease significantly.
How to Install Thule Bike Rack on the Car
Before installing the Thule bike rack on the car, reading the user manual thoroughly is highly recommended. Although installing a rack is not daunting, a user manual could provide a tremendous advantage. It will make the task much more convenient.
Now, I’ll show you how you can install a Thule bike rack pretty conveniently. Let’s check –
Step 1 – Measure all the Things
Measure the crossbars’ width and length to check which bike rack appropriately fits on your car.
Step 2 – Unite the Bike Rack
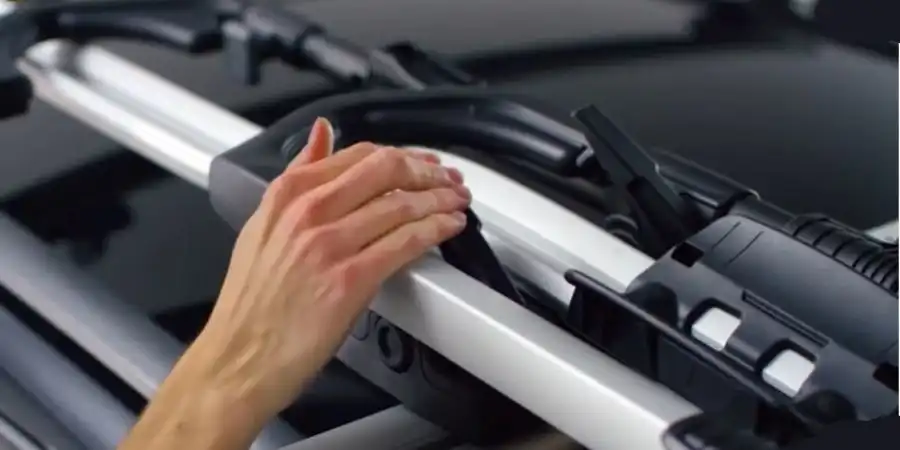
Generally, Thule bike racks require assembly before starting the installation process. To do it effortlessly, closely follow the instructions provided in the user manual. Additionally, the assembling process involves attaching various parts, such as the main frame, arms, and brackets.
In addition, ensure to tighten all the bolts and screws securely according to the manufacturing company’s instructions.
Step 3 – Select the Mounting Place
Next, you must decide where to mount the bike rack on your vehicle. Consequently, Thule bike racks can be installed on different vehicle parts. It depends on the type of rack and the vehicle’s configuration.
Common mounting locations include your vehicle’s trunk, roof, or hitch.
The front place should be positioned on the windshield and the rack should be straight. From there, mark the points where the rack will be placed. You can use a scissor to cut added rubber on the crossbars to provide a free area for the bike rack.
Step 4 – Fasten the Rack to the Car
Now, I can assume that you’ve got the right place to mount the rack on the vehicle. Once you choose the mounting location, you can attach the bike rack to your vehicle. Before starting the fastening process, please follow the instructions provided by Thule for your specific bike rack model.
This may involve mounting brackets, straps, or bolts to secure the rack to your vehicle. You need to make sure to properly tighten all the bolts and straps to ensure a secure and stable fit.
Conversely, if you need to make holes in your vehicle for installation, use a drill with the perfect drill bit size recommended by Thule. Moreover, you must avoid any electrical or mechanical components in your vehicle.
Step 5 – Secure the Bikes to the Bike Rack
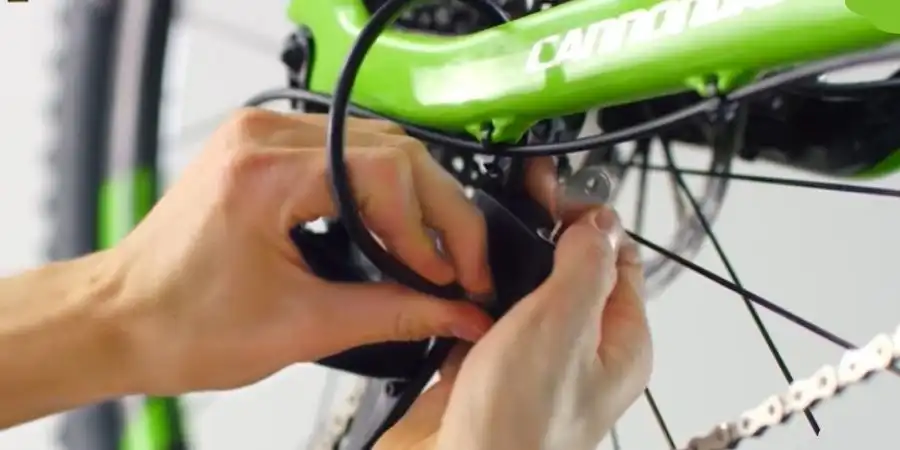
After attaching the bike rack to your vehicle, you can now secure your bikes to the rack. Thule bike racks typically have adjustable arms or cradles that hold the bikes in place. Consequently, follow the instructions provided by Thule to secure your bikes properly.
This may involve adjusting the arms or cradles to fit the size and shape of your bikes. And, using straps or locks to keep them in place. Further, make certain your bikes are securely fastened and do not wobble or shift during transit.
Step 6 – Test the Installation
Before hitting the road, thoroughly testing the Thule bike rack’s installation is essential. You need to gently shake the rack and bikes to ensure they are securely attached and do not move.
Test all the straps, bolts, and locks to ensure they are adequately tightened and functioning correctly. Additionally, check for any interference with your vehicle’s lights, license plate, or other components.
With everything in place and properly secured, you are now ready to enjoy your cycling adventures with your Thule bike rack!
Advantages of Thule Bike Racks
Bike racks are crucial to securing the bicycle with family or friends during a trip. It’s no secret that filling the car’s trunk with a bicycle is nearly impossible since you need to keep your household products there.
On the other hand, keeping it in the car’s inside place is also a problem. It can take up a lot of space and become a pain during travel. This is why you need a high-quality bike rack. A superb bike rack like Thule can give extra room for your luggage.
Contrariwise, a premium Thule bike rack could be an excellent choice for long-road traveling. It will give you absolute peace of mind and comfortable feelings. Let’s check out some of the most significant advantages of Thule bike racks –
Simple Assembling
The assembling and installation procedure of the Thule bike rack is effortless. There’s no complication in it.
Massive Capacity
Thule racks offer a greater bike load capacity. As a result, you can push larger-sized bikes quite conveniently.
Security
Thule bike racks come with a range of security features, such as locking systems and adjustable straps. Therefore, you can keep the bikes safe and secure during transport.
Versatility
The Thule bike rack is versatile enough and can adapt to various types of vehicles without a problem.
Compatibility
Thule bike racks are designed to be compatible with a wide range of bikes, including road bikes, mountain bikes, and e-bikes. This means you can use your Thule bike rack to transport any bike you own.
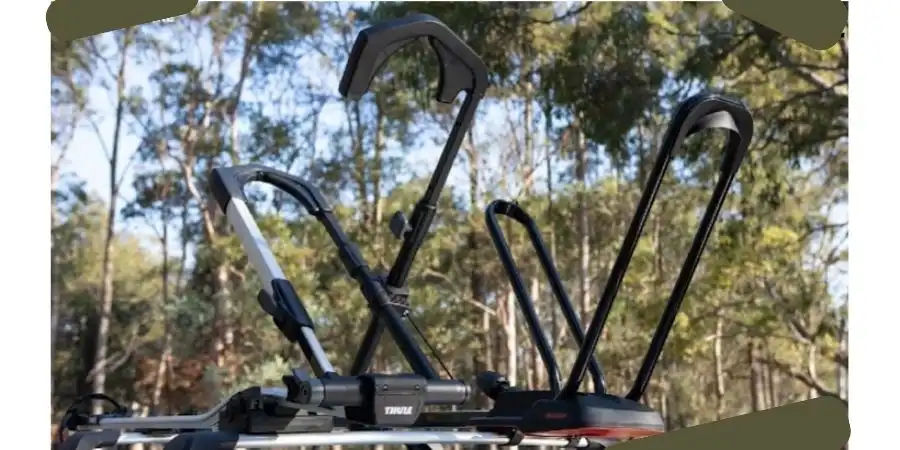
Tips on Using the Thule Bike Rack
If you want to use your Thule bike rack properly, here are some essential tips you should follow –
Select the Right Rack
Thule makes a variety of bike racks, including roof racks, hitch racks, and trunk racks. You must ensure to select the right bike rack for your vehicle.
Install the Rack Correctly
Follow the instructions given by the manufacturing company. Make sure the rack is level and the straps are tight.
Follow the Rack Closely
Check the rack and strap regularly while traveling. Make sure that it doesn’t get unfastened and not shifting around.
Careful Driving
When you’re traveling the bike on your Thule rack, drive carefully. Take your turn slowly and don’t make any sudden moves. Any simple mistake could be costly. So, you should be aware of it.
Remove the Rack When not in Use
Remove it from your vehicle when you’re not using the Thule rack. So the car can avoid any damage. Hence, store the rack in a safe and dry place.
FAQs
How much weight a Thule bike rack can carry?
Usually, it depends on the bike’s capability. Since Thule produces different types of racks, the weight capacity also varies. However, most Thule bike racks are capable of carrying around 60-80 pounds of weight.
What materials do I need to secure my bike rack?
To secure the bike rack onto the car’s roof, you need a screwdriver, ladder, wrench, etc.
Final Words
So, what’s your take after reading the article? Is the process seems overwhelming to you? Trust me; it’s not that daunting. I also thought the Thule bike rack installation process was rocket science when I tried installing it on my SUV for the first time.
But the whole procedure seems quite effortless after a while.
You’ll also have the same feeling if you can go with adequate procedures. So, don’t worry. Just follow the instructions and tips I gave above. It’s nothing serious.
Meanwhile, I hope my guidance will be helpful to you. If you find it useful, you can share it with your close people facing similar situations. Moreover, you’re welcome to share your experiences on how to install the Thule bike rack in the comment section. Goodbye!
